



How to Roll a Zoot: Step-by-Step Guide for Beginners

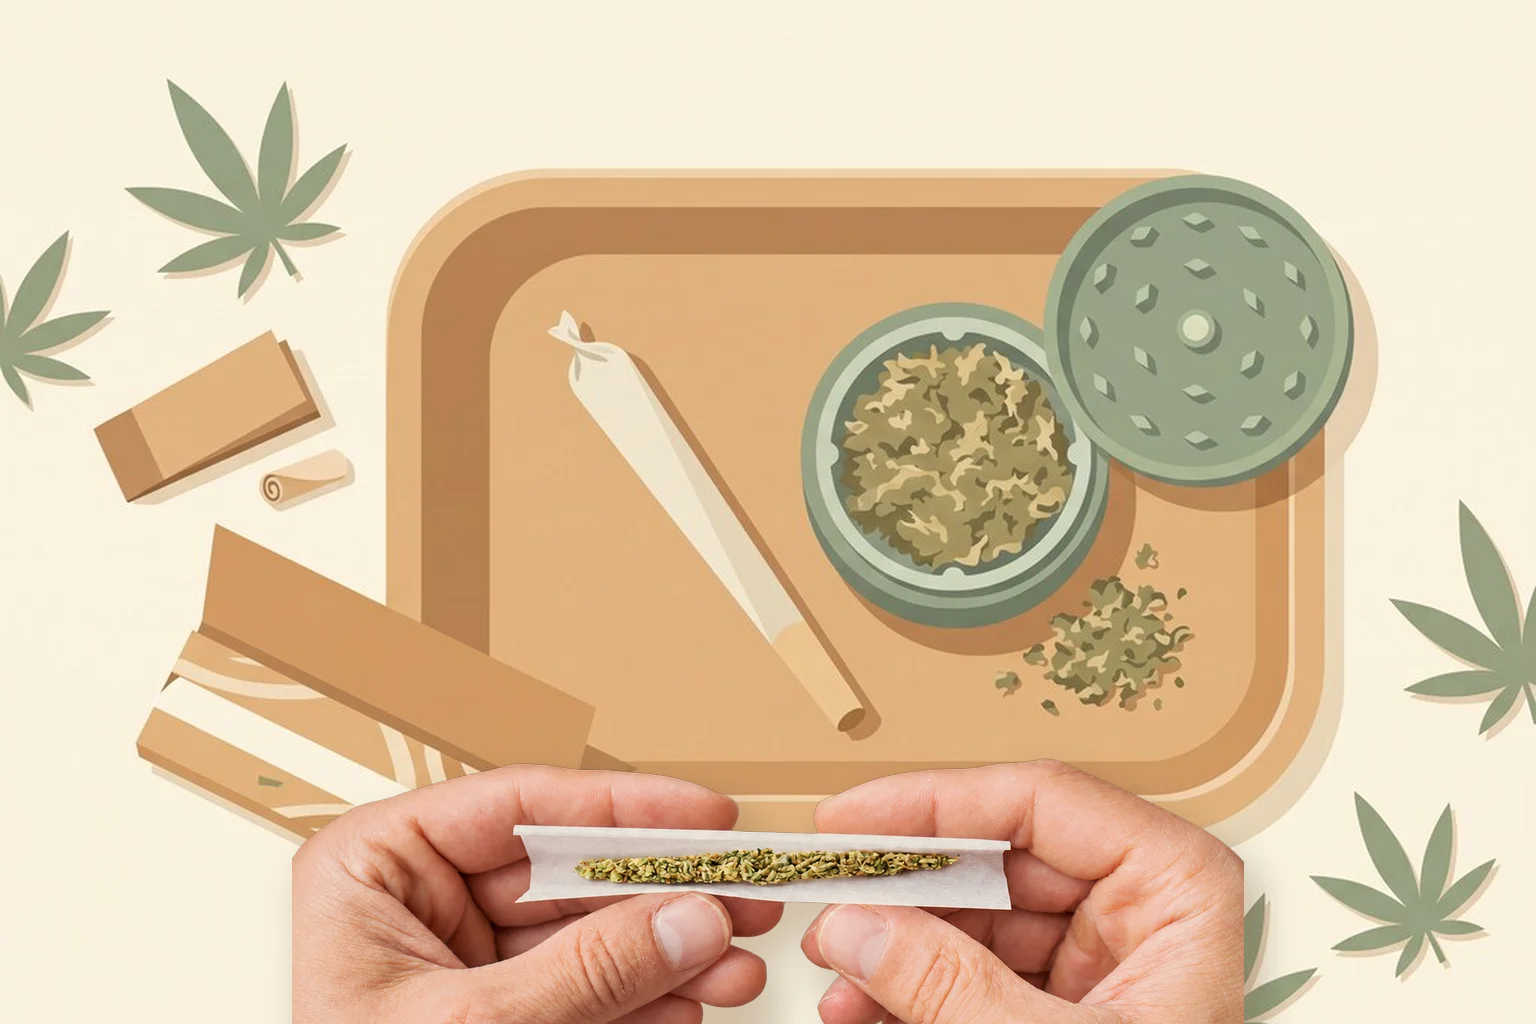
Buying pre-rolls is convenient, but rolling your own zoot gives you more control over what goes into each one. You can choose your THC flower, adjust the size, and make each roll to your preference. The trick is getting the technique right. This guide breaks down how to roll a zoot, from preparing your flower and choosing the right paper to shaping, sealing, and fixing common rolling mistakes.
Quick Guide: How to Roll a Zoot
1. Grind your flower: Break it down into a fluffy, even consistency.
2. Make a filter tip: Fold a small strip of cardboard into an accordion shape, then roll it into a crutch.
3. Position the filter: Place it at one end of your 1¼ rolling paper.
4. Add the flower: Spread the ground flower evenly along the paper’s crease.
5. Shape the zoot: Gently roll the paper between your fingers to form an even tube.
6. Tuck and roll: Tuck the non-gummed edge around the flower and roll upward.
7. Seal the paper: Lightly lick the gum strip and press it down.
8. Pack and twist: Gently pack the flower near the filter, then twist the open end closed.
What Is a Zoot?
A “zoot” is slang for a joint, used most often in the UK, Canada, and parts of the US cannabis scene. The word has nothing to do with the 1940s zoot suit, which still dominates Google results if you search the term alone. If someone asks you to “pass the zoot,” they mean the rolled joint.
Quick slang breakdown: a zoot is a joint, meaning cannabis in rolling paper; a joint is the standard term; a blunt uses a tobacco leaf or hemp wrap instead of paper; and a spliff mixes cannabis with tobacco. Want more vocabulary? Our popular marijuana slang guide covers dozens more terms.
-
-

-
Sale!On Sale
PHUK’D UP | THC BLEND DISPOSABLE VAPE | MINI 3.5G
Original price was: $25.00.$7.50Current price is: $7.50.Shop Now This product has multiple variants. The options may be chosen on the product page
How to Choose the Right Joint Rolling Paper
Picking a rolling paper is like picking a notebook. There are options you don’t need, and a few that genuinely change the experience. The main variables are material, size, thickness, and glue.
1. Material is the biggest one.
- Wood pulp papers are thicker, sturdier, and the most forgiving for beginners because they hold their shape even when your technique is sloppy.
- Hemp papers are made from hemp fibers and burn slower with a mild, earthy flavor.
- Rice papers are thin and nearly tasteless but tear easily if your fingers aren’t dry.
- Flax sits somewhere between hemp and rice in feel and is less common on US shelves.
2. Size matters next.
- Single wide papers are small and best for solo sessions or lower-intensity rolls.
- A 1¼ paper is the sweet spot for most beginners and comfortably holds roughly half a gram.
- King size papers are long and work for group sessions or anyone who wants a longer burn.
If you’re between sizes, size up. A paper that’s slightly too big is easier to roll than one you can’t close.
3. Thickness and glue are the final details.
Thinner papers burn cleaner but tear if you overpack them, while thicker papers forgive mistakes but can add a papery note. Check the gum strip too; natural gum from Arabic tree sap seals better than synthetic adhesives.
If you want a plug-and-play starting point, go with a 1¼ wood pulp or hemp paper. They’re the best rolling papers for beginners because they hold their shape, seal cleanly, and don’t punish small mistakes. Something like RAW Classic 1¼ cones also lets you skip rolling entirely if you’d rather just fill and twist.
How Much Weed Do You Need? Understanding Joint Sizes
The amount of flower you need depends on how big you want your joint to be. A smaller roll, often called a pinner, uses around 0.25 to 0.3 grams, while a standard joint typically holds 0.4 to 0.6 grams. Larger rolls can hold a gram or more.
| Joint Size | Flower (grams) | Paper Size | Rough Sessions |
| Pinner | 0.25 to 0.3 g | Single wide | Short solo session |
| Standard | 0.4 to 0.6 g | 1¼ | 1 to 2 people |
| King Size | 0.8 to 1.0 g | King size | 2 to 4 people |
| Blunt-style hemp wrap | 1.0 to 2.0 g | Blunt wrap | 3 to 5 people |
How to Get the Right Amount of Flower
A grinder helps break flower into small, even pieces, making it easier to distribute throughout the paper. Aim for a fluffy consistency rather than a powdery one. Finely ground flower can restrict airflow, while larger chunks can lead to an uneven burn.
If you don’t have a scale, a small digital scale is useful for measuring your flower more accurately.
How Much THC Is in a Joint?
The amount of THC in a joint depends on the flower’s cannabinoid content and how much you use. For example, one gram of THCA flower containing 24% THCA has approximately 240 mg of THCA.
When heated, THCA converts into Delta-9 THC. Accounting for the molecular weight change using a factor of 0.877, that gram could theoretically produce around 210 mg of THC before accounting for losses during combustion.
Actual THC delivery is lower because some cannabinoids are lost through smoke, side-stream burning, and residue in the filter.
Want to understand the difference between THCA and THC? Read our guide on what THCA is and how it works.
What You Need to Roll a Zoot
Rolling is one of those skills where the right gear matters almost as much as technique. You don’t need much, but what you do need should work together.
Your basic kit is simple. You’ll need the following:
- Ground cannabis flower – Cannabis buds broken down into small pieces for rolling.
- Rolling paper – Thin paper used to wrap the ground flower into a joint.
- Grinder – Gives you an even, fluffy consistency.
- Filter tip or crutch – Adds structure and keeps bits out of your mouth.
- Rolling tray – The tray catches stray flower and gives you a flat surface.
- A poker tool like a pen or chopstick – Helps pack the tip.
- A lighter – Used to light the finished roll.
How to Roll a Zoot Step by Step
Now that you have your supplies ready, it’s time to put them to use. Rolling a zoot takes a little practice, but the process becomes easier once you get familiar with each step. Follow these eight steps to get started.
Step 1: Grind the Flower
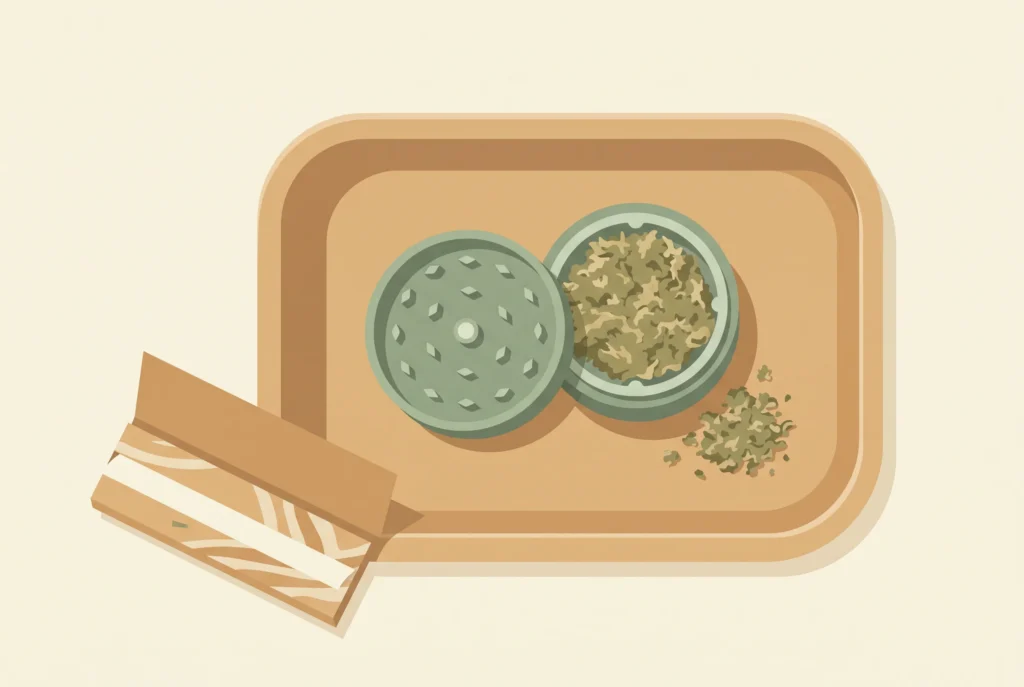
Start by breaking your flower into small, even pieces using a grinder. Aim for a fluffy consistency, similar to loose tea leaves, rather than a fine powder. This helps distribute the flower evenly and prevents airflow problems.
Don’t have a grinder? Scissors and a shot glass can work as an alternative, although the results may be less consistent. Here’s a guide on how to clean a grinder to keep yours in good condition.
Tip: Gently shake your grinder as you twist to help the ground flower fall through.
Step 2: Make a Filter Tip
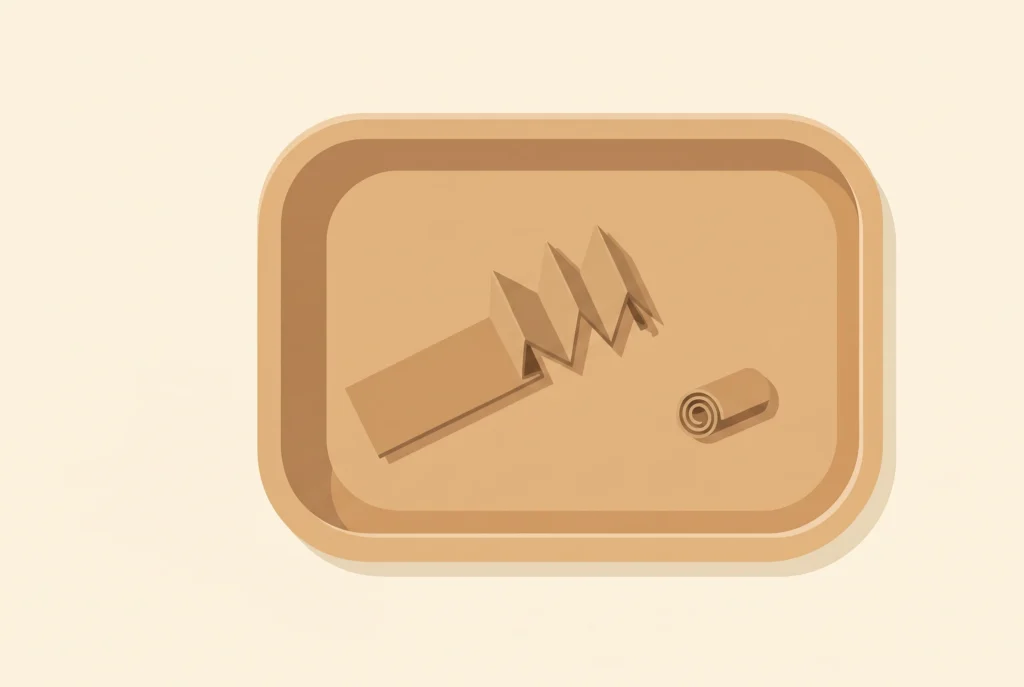
Take a small strip of thin cardboard from the flap of your rolling paper pack. Fold one end into three or four small accordion folds, then roll the remaining strip around them. This creates a W-shaped or spiral filter, also called a crutch.
A filter gives your zoot structure and helps keep loose flower out of your mouth.
Tip: Keep the filter slightly loose so air can pass through it.
Step 3: Position the Filter
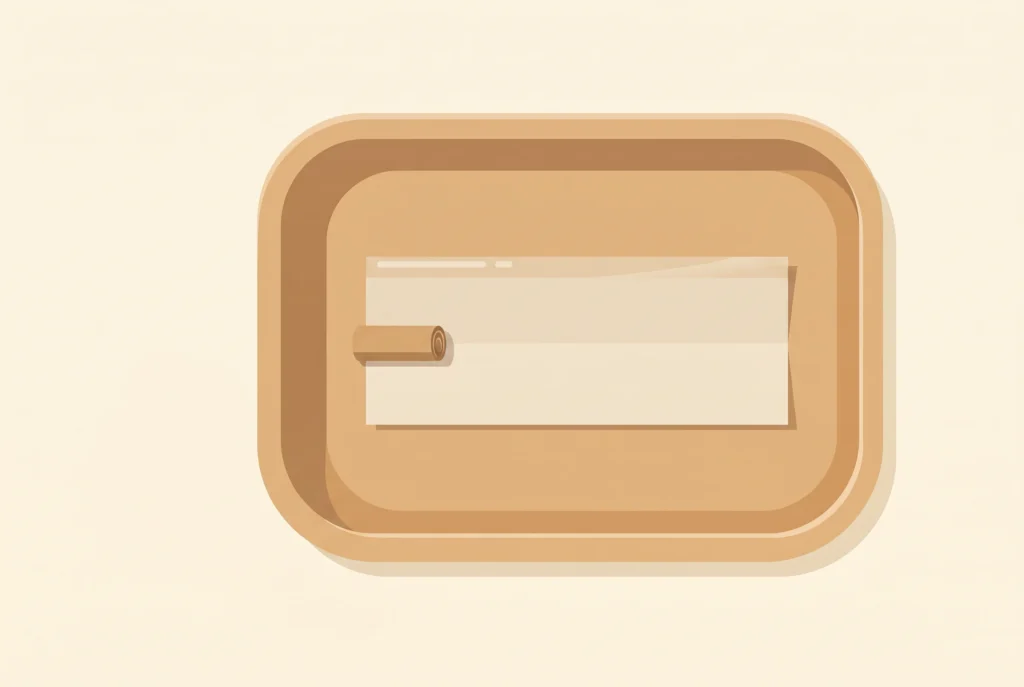
Lay your rolling paper flat with the gum strip facing up and away from you. Place the filter at one of the short ends of the paper.
The side you choose depends on which hand you prefer to use when rolling. Most right-handed rollers place the filter on the left.
Tip: Keep the filter in place as you work. It acts as an anchor for the rest of the roll.
Step 4: Add the Ground Flower
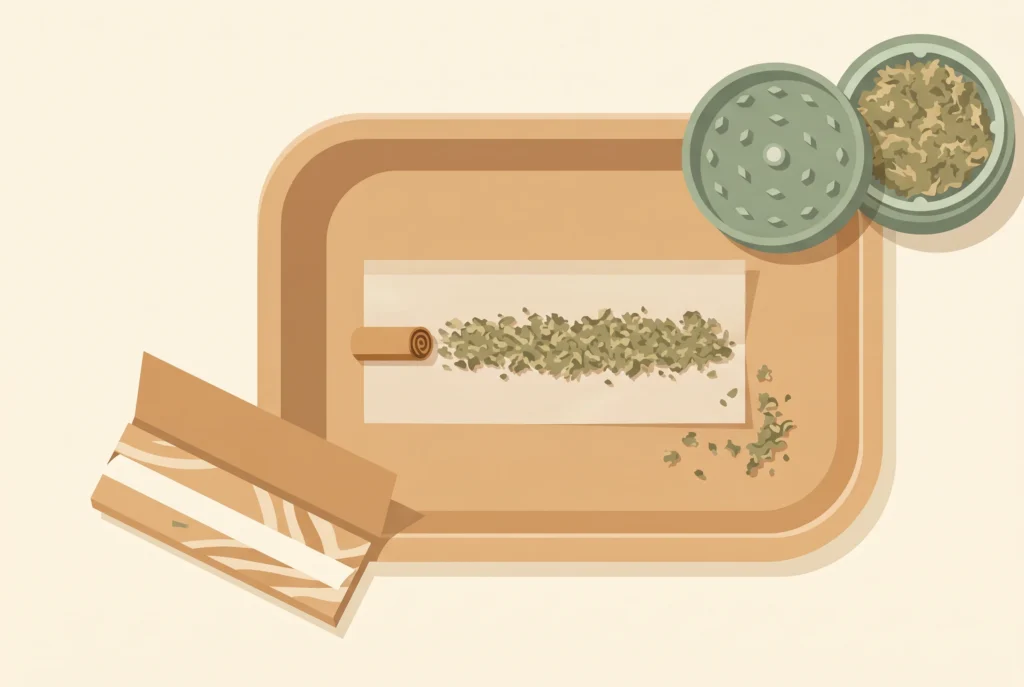
Fold the paper lengthwise to create a shallow crease. This makes a small channel to hold the ground flower while you roll.
Spread the flower along the crease, keeping it evenly distributed from one end to the other. Leave a little room around the filter so the flower doesn’t spill out.
Tip: Start with a smaller amount. It’s easier to add more flower than to remove excess once you begin rolling.
Step 5: Shape the Flower
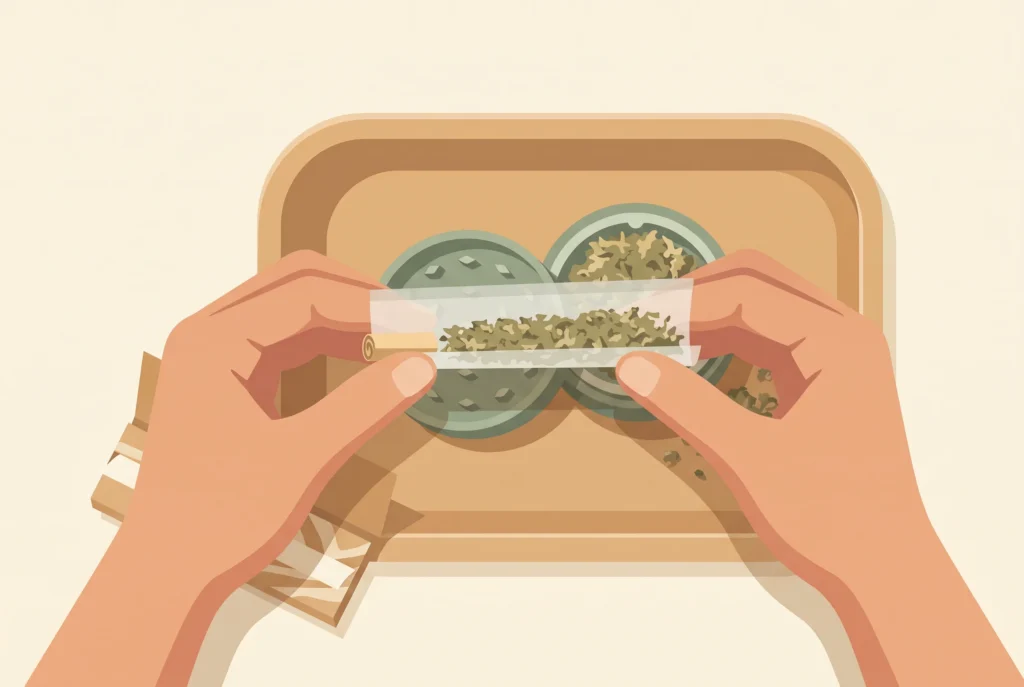
Hold the paper between your thumbs and forefingers. Gently roll it back and forth to shape the flower into an even cylinder.
Take your time with this step. The goal is to distribute the flower evenly and give the zoot a consistent shape before tucking the paper.
Tip: If the flower shifts to one side, gently tap the filter end against your rolling tray to even it out.
“The number one thing I see new customers get wrong is grinding too fine. They think powder means a better pack, but it blocks the airflow and the joint won’t pull. Go for a fluffy grind, like you’re seasoning food, not making flour.”
– Clay Kramm, Director of Sales
Step 6: Tuck and Roll
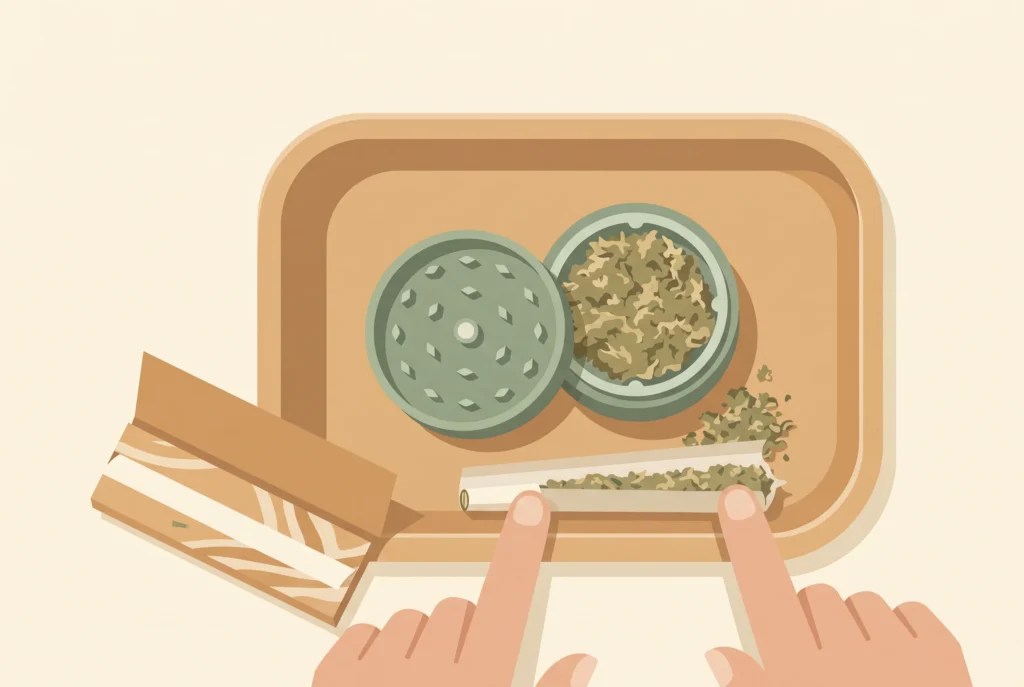
This is often the trickiest part for beginners. Start with the edge of the paper closest to you, which is the side without the gum strip.
Use your thumbs to tuck that edge around the flower and underneath the opposite edge. Once it’s tucked, gently roll the paper upward until only the gum strip remains exposed.
Tip: Having trouble getting the paper to tuck? You may have added too much flower. Remove a little and try again.
Step 7: Seal the Paper
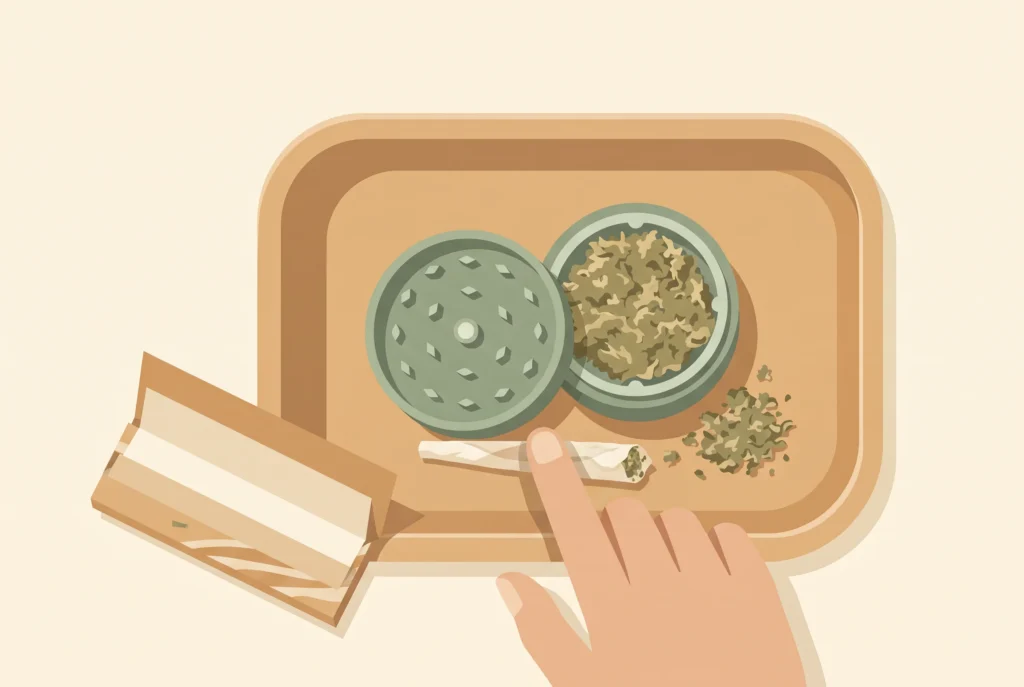
Lightly moisten the gum strip with your tongue. Avoid soaking it, as too much moisture can make the paper difficult to handle.
Press the gum strip against the paper, working from the filter toward the open end. Run your fingers along the seam to make sure the entire roll is sealed.
Tip: If the paper won’t stick, give it a moment to dry slightly before pressing the seam again.
Step 8: Finish the Zoot
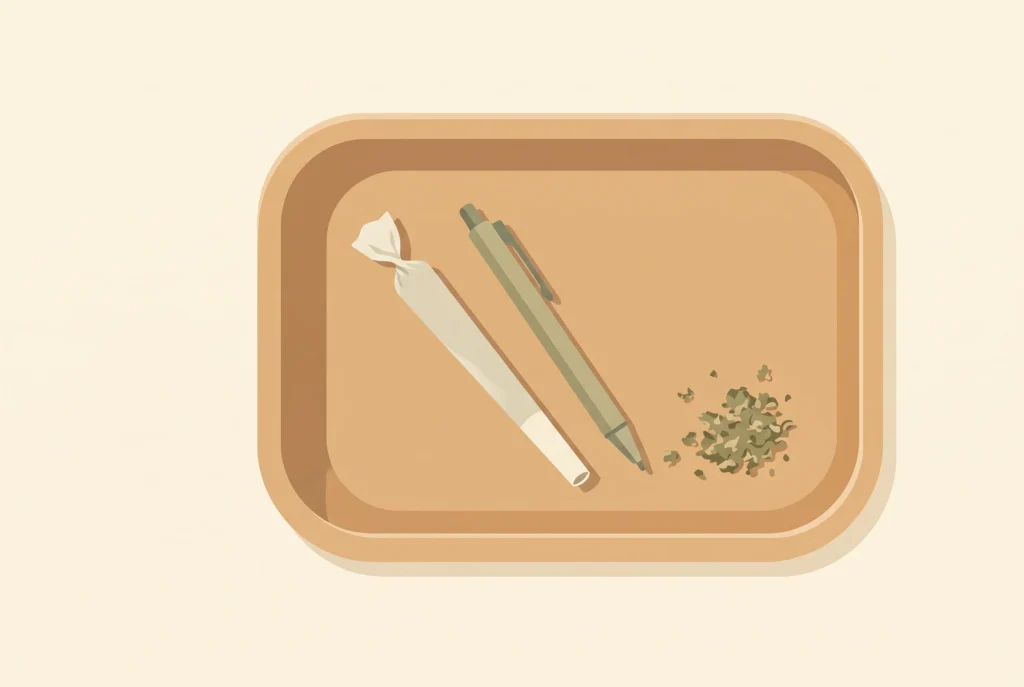
Use a pen or packing tool to gently adjust the flower near the open end and remove any large gaps. Avoid packing it too tightly, as this can restrict airflow.
Finally, twist the open end to keep the flower in place. Your zoot is now rolled and ready to be lit.
6 Ways to Roll a Zoot
Not every zoot is rolled the same way. These six methods cover the main approaches you’ll see in-store and online.
1. Classic Hand Roll. The method covered in the 8 steps above. Flexible, portable, and the skill most worth learning. Works with any paper size and any flower type.
2. Cone Zoot. A tapered zoot that’s wider at the tip and narrower at the filter. Looks like a mini ice cream cone. Slightly trickier than a straight roll because the taper takes practice, but the shape burns evenly and holds more flower.
3. Rolling Machine. A small plastic or metal device that rolls for you. Place the filter and flower inside, close the rollers, feed the paper through, and lick the strip when prompted. Nearly foolproof and ideal if hand rolling is tricky.
4. Pre-Made Cone with a Cone Filler. Skip the rolling step entirely. Buy empty cones, fill them with ground flower using a funnel or packing tool, pack gently, and twist the tip. This is the fastest way for beginners to get a usable zoot.
5. Hemp Wrap, Blunt-Style. Uses a hemp-based wrap instead of rolling paper for a slower burn and thicker roll. Technically more of a blunt than a traditional zoot, but it counts. Our how to roll a backwood guide walks through wrap-style rolls in detail.
6. No-Filter Roll. Skips the crutch. Simpler to prep but harder to smoke because you’ll get bits of flower in your mouth and no structural anchor. Useful if you’ve forgotten your filter tips, but not recommended as a daily method.
Here’s a quick comparison of the six methods, including how difficult each one is, how long it takes, and what each is best suited for.
| Method | Difficulty | Time | Best For |
| Classic hand roll | Medium | 3 to 5 min | Everyday use, portable skill |
| Cone zoot | Medium-hard | 5 to 7 min | Even burn, shared sessions |
| Rolling machine | Easy | 2 to 3 min | Consistency, easier rolling |
| Pre-made cone | Very easy | 1 to 2 min | Beginners, quick packs |
| Hemp wrap | Medium | 5 to 8 min | Slow burns, group sessions |
| No-filter roll | Easy to roll, hard to smoke | 2 to 4 min | Backup option only |
Pro Tips for Rolling Like a Pro
Rolling a zoot takes practice, but a few small adjustments can make the process much easier. The goal is to get an even roll with a consistent shape, a secure seal, and enough airflow. Keep these tips in mind as you work on your technique.
1. Practice With Extra Rolling Papers
Your first few attempts probably won’t look perfect, and that’s normal. Set aside a few extra papers to practice without worrying about wasting flower. Focus on getting comfortable with shaping, tucking, and sealing before trying to roll faster.
2. Get the Flower Texture Right
The way you grind your flower can make or break your roll. Aim for a fluffy, even consistency rather than a fine powder or large chunks. Powdery flower can restrict airflow, while uneven pieces make it harder to distribute the contents evenly. As the retail team recommends, think of seasoning food rather than making flour.
3. Avoid Flower That’s Too Sticky or Too Dry
Flower that’s extremely sticky can cling to your fingers and make it harder to work with the paper. On the other hand, flower that’s too dry can crumble and become difficult to handle. A slightly dry but still workable texture is easier to distribute and shape.
4. Don’t Overfill the Paper
It’s tempting to add more flower, especially when you’re still learning. But too much makes the paper harder to tuck and can leave you with an uneven shape. Start with a smaller amount and distribute it evenly. You can always adjust the amount as you get more comfortable with rolling.
5. Keep Your Fingers Dry When Sealing
Moisture can make rolling paper harder to handle and weaken the seal. When you’re ready to close the roll, lightly moisten only the gum strip. Avoid getting the rest of the paper or your fingers too wet.
6. Use a Rolling Tray
A rolling tray gives you a flat, stable surface to work on and catches loose flower as you prepare your zoot. It’s especially useful when you’re still learning because you can collect and reuse any flower that falls out instead of losing it.
7. Keep the Filter Loose Enough for Airflow
A filter should provide structure without blocking airflow. Avoid folding or rolling it too tightly. If you’re using a cardboard crutch, make sure the opening remains clear before adding it to your paper.
8. Take Your Time With the Tuck
The tuck is one of the trickiest parts for beginners. Instead of forcing the paper around the flower, gently roll it between your fingers until the contents form an even cylinder. Then tuck the edge underneath and roll upward. If the paper won’t catch, check if you’ve added too much flower or distributed it unevenly.
9. Make Small Adjustments Instead of Starting Over
If your roll looks uneven, you may not need to throw it away and start again. Gently shift the flower toward areas that look thin, straighten the paper, or adjust the filter before sealing. Small corrections during the process can save you from having to redo the entire roll.
The biggest takeaway? Don’t focus on speed or getting a perfect-looking zoot right away. Work on an even grind, consistent shape, and secure seal. With repetition, these steps will start to feel more natural.
Troubleshooting a Bad Roll
Even experienced rollers end up with a joint that burns unevenly, feels too tight, or won’t stay lit. Most rolling problems come down to three things: uneven packing, the wrong grind, or improper sealing. Here’s how to identify the problem and fix it.
| Issue | Likely Cause | How to Fix It |
| Canoeing (one side burns faster) | Uneven packing, uneven lighting, or airflow through one side | Rotate the joint as you light it. If one side starts burning faster, lightly dampen the faster-burning edge and rotate the joint to help even out the burn. |
| Running (a long black streak down the side) | Loose spots in the flower or uneven distribution inside the paper | Gently pinch and roll the joint between your fingers to redistribute the flower. Avoid leaving gaps when filling the paper. |
| Too tight (difficult to draw) | Overpacking or flower ground too finely | Gently roll the joint between your fingers to loosen compacted spots. Next time, use a slightly coarser grind and avoid pressing the flower too firmly. |
| Too loose (flower falls out) | Underpacking or flower ground too coarsely | Add a little more flower if needed, then use a packing tool to gently settle it toward the filter. Avoid packing too hard. |
| Won’t stay lit | Flower is too moist, unevenly packed, or not fully lit | Let overly moist flower dry slightly before rolling. When lighting, rotate the joint slowly to ignite the entire tip evenly. |
| Won’t seal | Too much moisture on the adhesive strip or damaged paper | Blot away excess saliva, moisten the gum strip lightly, and press it against the paper until it sticks. Use fresh papers if the adhesive no longer works. |
| Torn paper | Overpacking, rough handling, or paper that’s too dry | If the tear is small, patch it with a small piece of rolling paper and seal it with a little moisture. For larger tears, it’s usually easier to start over. |
How to Fix a Canoeing Joint
Canoeing happens when one side of a joint burns faster than the other, creating an uneven burn line. It usually comes from uneven packing or lighting only one side of the tip.
To fix it, first identify which side is burning faster. Lightly moisten that edge with a damp fingertip, then rotate the joint as you smoke. This can help slow the faster-burning side and give the slower side time to catch up.
To prevent canoeing next time, distribute the flower evenly before rolling and rotate the joint while lighting it. Make sure the entire tip catches fire rather than concentrating the flame on one spot.
How to Fix a Joint That’s Too Tight
A joint that’s too tight is difficult to draw from because the flower is packed too densely or ground too finely. The goal is to get an even, firm pack without blocking airflow.
If you’ve already rolled it, gently massage the joint between your fingers to loosen compacted areas. You can also carefully work a thin packing tool near the filter to create a little more airflow without tearing the paper.
For your next roll, use a medium-coarse grind and distribute the flower evenly. Roll it back and forth between your thumbs and forefingers to shape it instead of pressing everything down. A properly packed joint should feel firm but slightly springy, with enough room for air to pass through.
Final Thoughts
Want to skip the rolling tray next time? Explore The Hemp Doctor’s ready-to-light pre-rolls for an easy, no-roll option when you want convenience without the extra prep. Prefer another no-roll format? Our THCA vapes are another low-effort route.

